The Technical Process Behind Professional Embroidery Digitizing.
Many assume digitizing is simply converting an image into an embroidery file using software. In reality, it is a detailed technical process.
Step 1: Artwork Analysis
The digitizer studies line thickness, color blocks, small details, and complexity. Sometimes artwork adjustments are needed to make it embroidery-friendly.
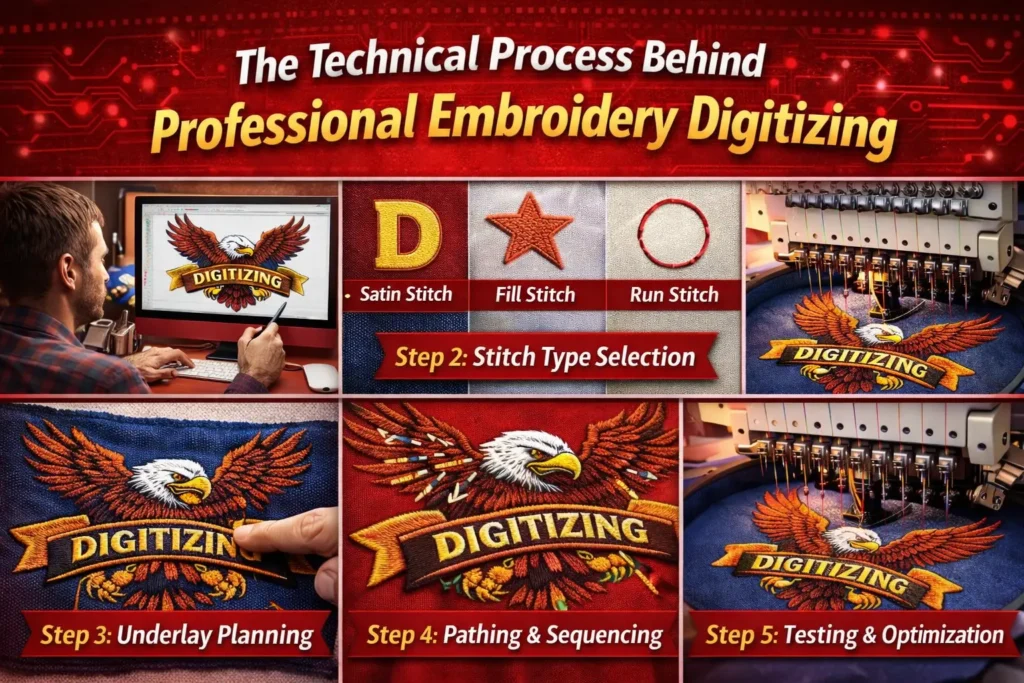
Step 2: Stitch Type Selection
Different areas require different stitches:
– Satin stitch for borders and text – Fill stitch for large areas – Running stitch for outlines and fine details
Step 3: Underlay Planning
Underlay creates the base structure. It prevents shifting and ensures clean top stitching.
Step 4: Pathing and Sequencing
Proper sequencing reduces thread trims, jump stitches, and production time.
Step 5: Testing and Optimization
Professional digitizers test files to ensure clean stitching, balanced density, no thread breaks, and accurate detailing.
Why Digitizing Quality Affects Production Cost
Good digitizing reduces machine downtime, prevents thread wastage, minimizes errors, and saves production time.